Installation
Requirements: A Linux server with min of 2 cores, 8GB of RAM, and 64GB disk space (AWS t2.large or GCC n1-standard-2), a License file (click the "Start Free Trial" link in the page header for a demo license), server ports: 8800, 80, 443 accessible from your local machine, SSL cert/key (optional).
Getting Started
First, SSH into your Linux server (modern versions of Ubuntu, Debian, Centos, Red Hat & Fedora).
Next, run this install script as the root user to install the necessary components
$ curl -sSL https://enterprise.coveralls.io/install.sh | sudo bash
Accessing Management Interface
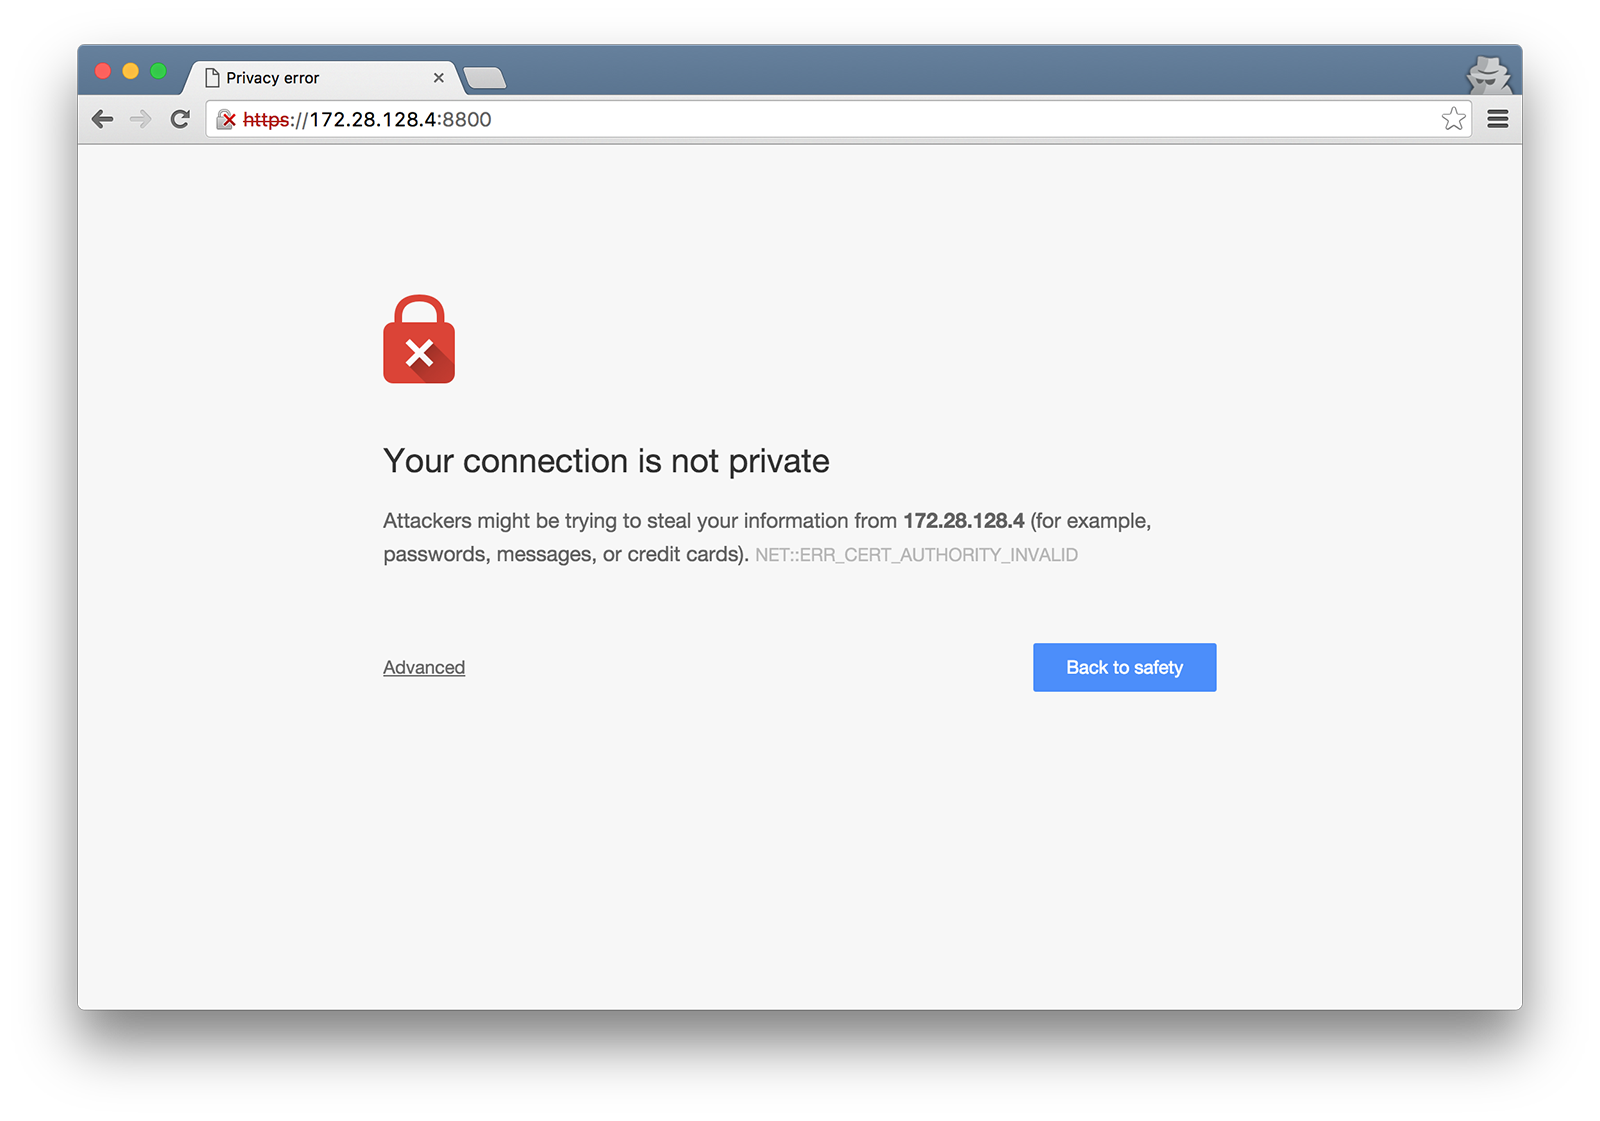
When the server has started, access the application by HTTPS on port 8800 at the address provided in the console log. You'll get an SSL security warning, but you can proceed past this as Coveralls Enterprise uses a self-signed certificate for initial setup.
Configure Hostname & SSL
Add either the IP address that you connected to in order to start configuration (without the port), or the internal hostname that resolves to that IP address. Upload a custom TLS/SSL cert/key or proceed with the provided self-signed certificate.

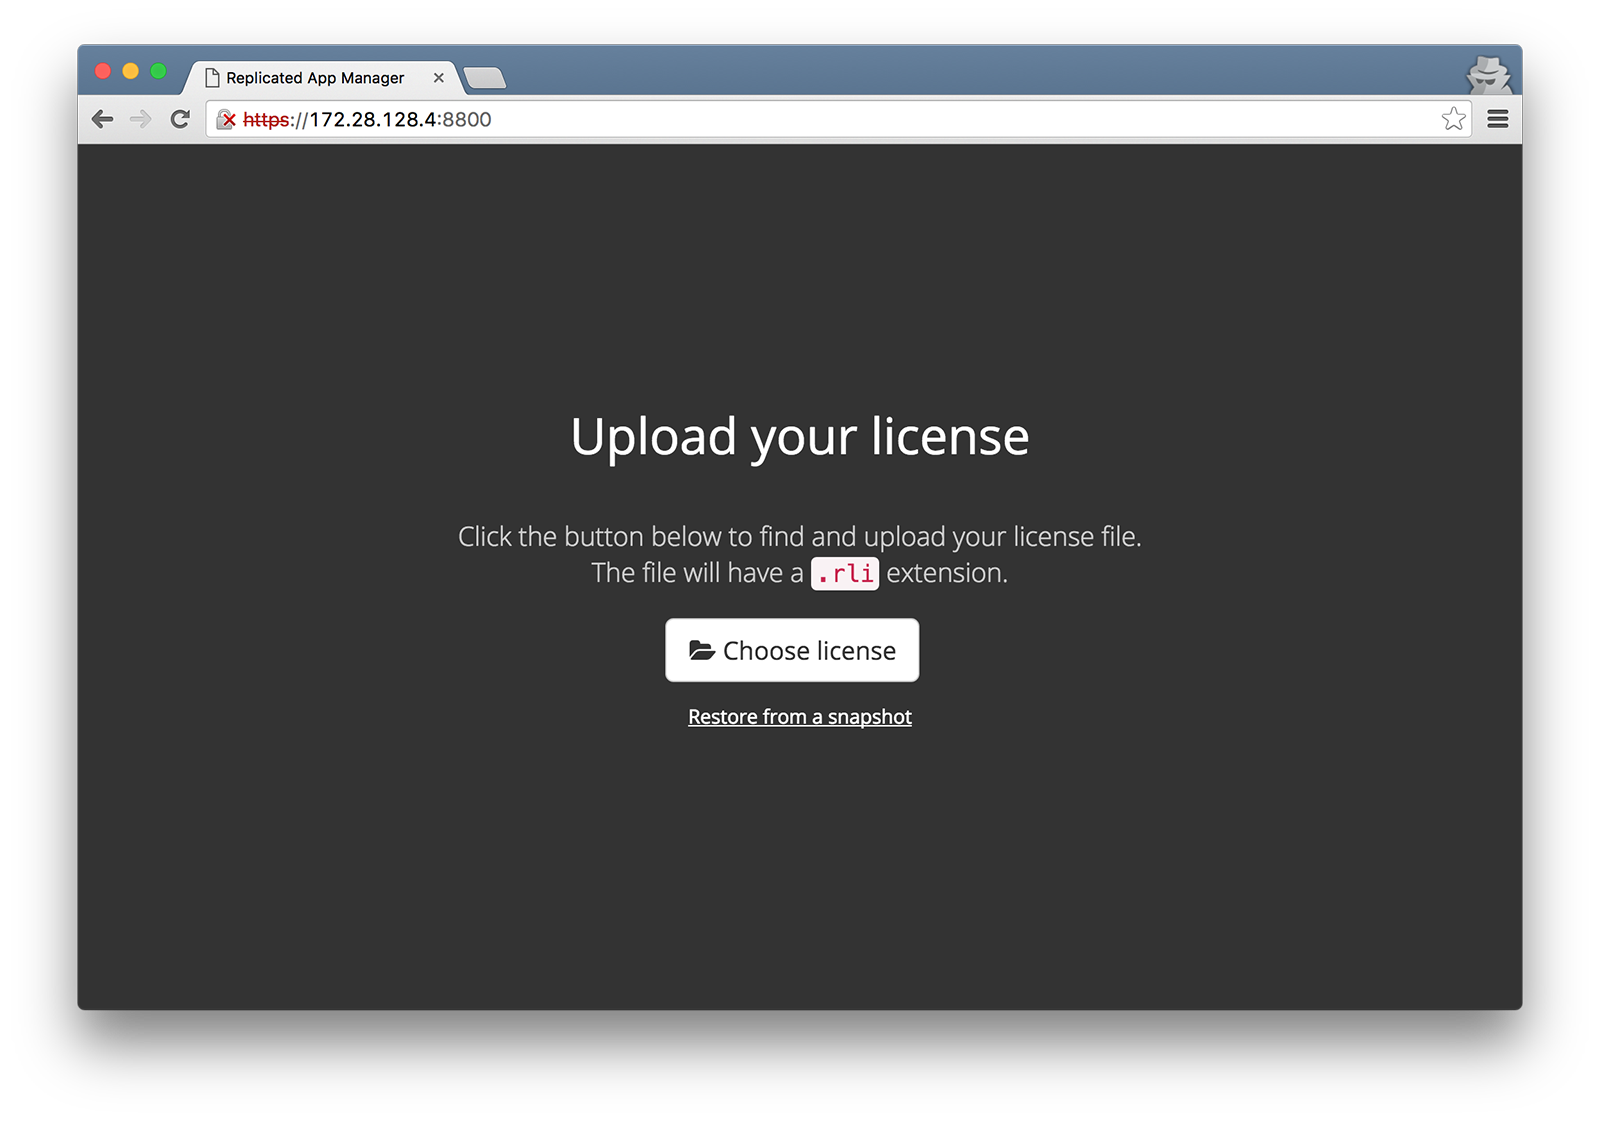
Upload Coveralls Enterprise License
Click the "Choose License" button to upload the license file (.rli) that has been given to your organization. If you don't have this handy, you can find it at https://enterprise.coveralls.io/license
Activate your License
Check your email for your license activation code. Enter that in the "Activation Code" field and then click "Continue".
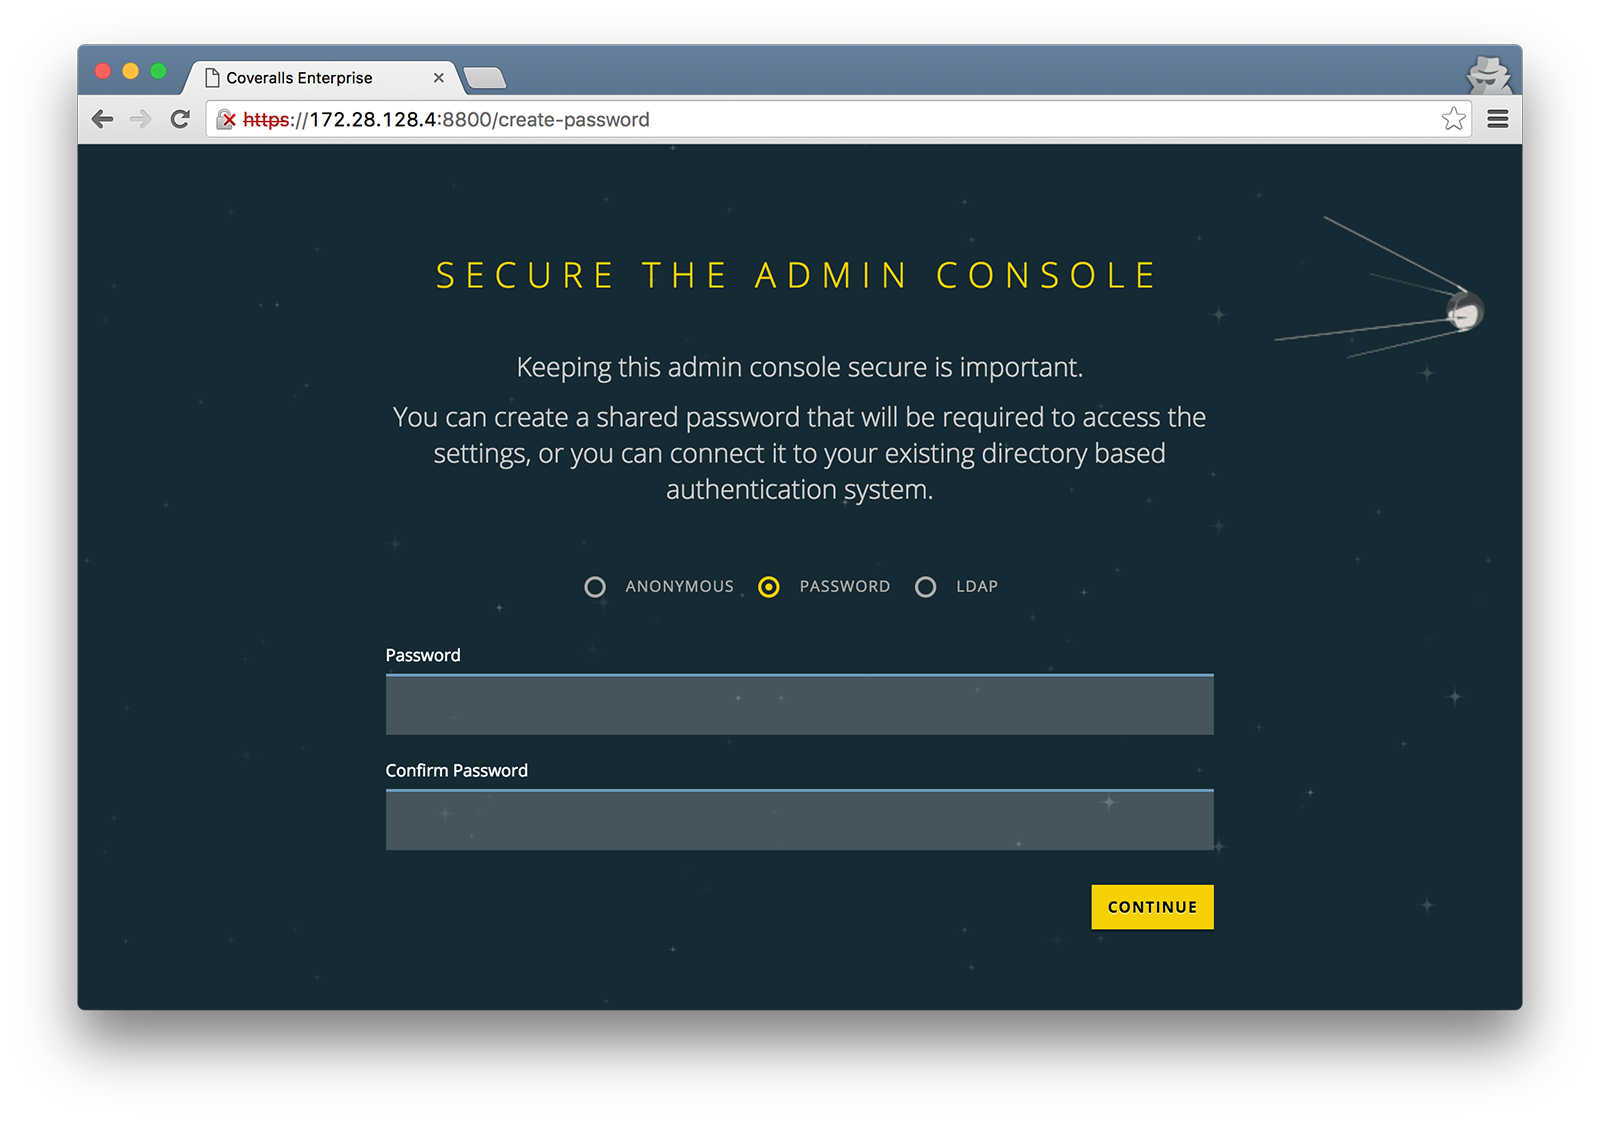
Secure your Management Interface
Provide a password for the management interface, or connect to your LDAP server. If you like living on the edge and aren't afraid of having an unprotected server, you can choose "Anonymous"... but we don't recommend it.
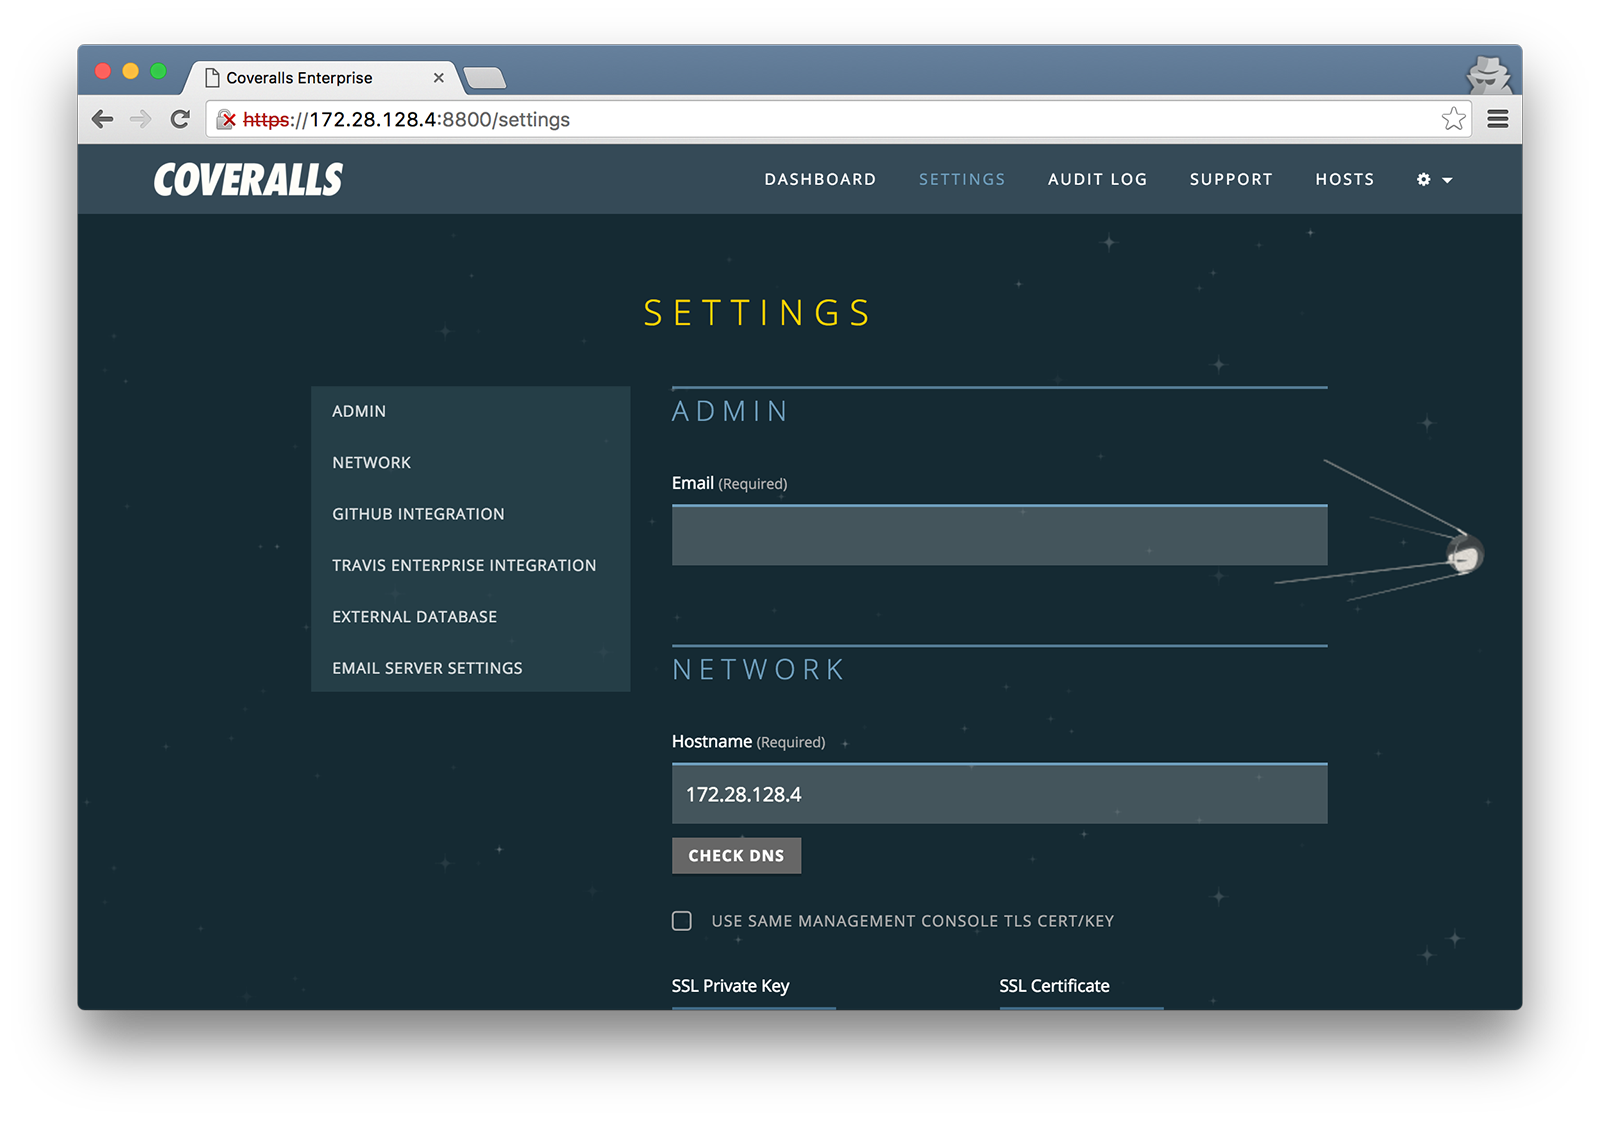
Configure Settings & Boot
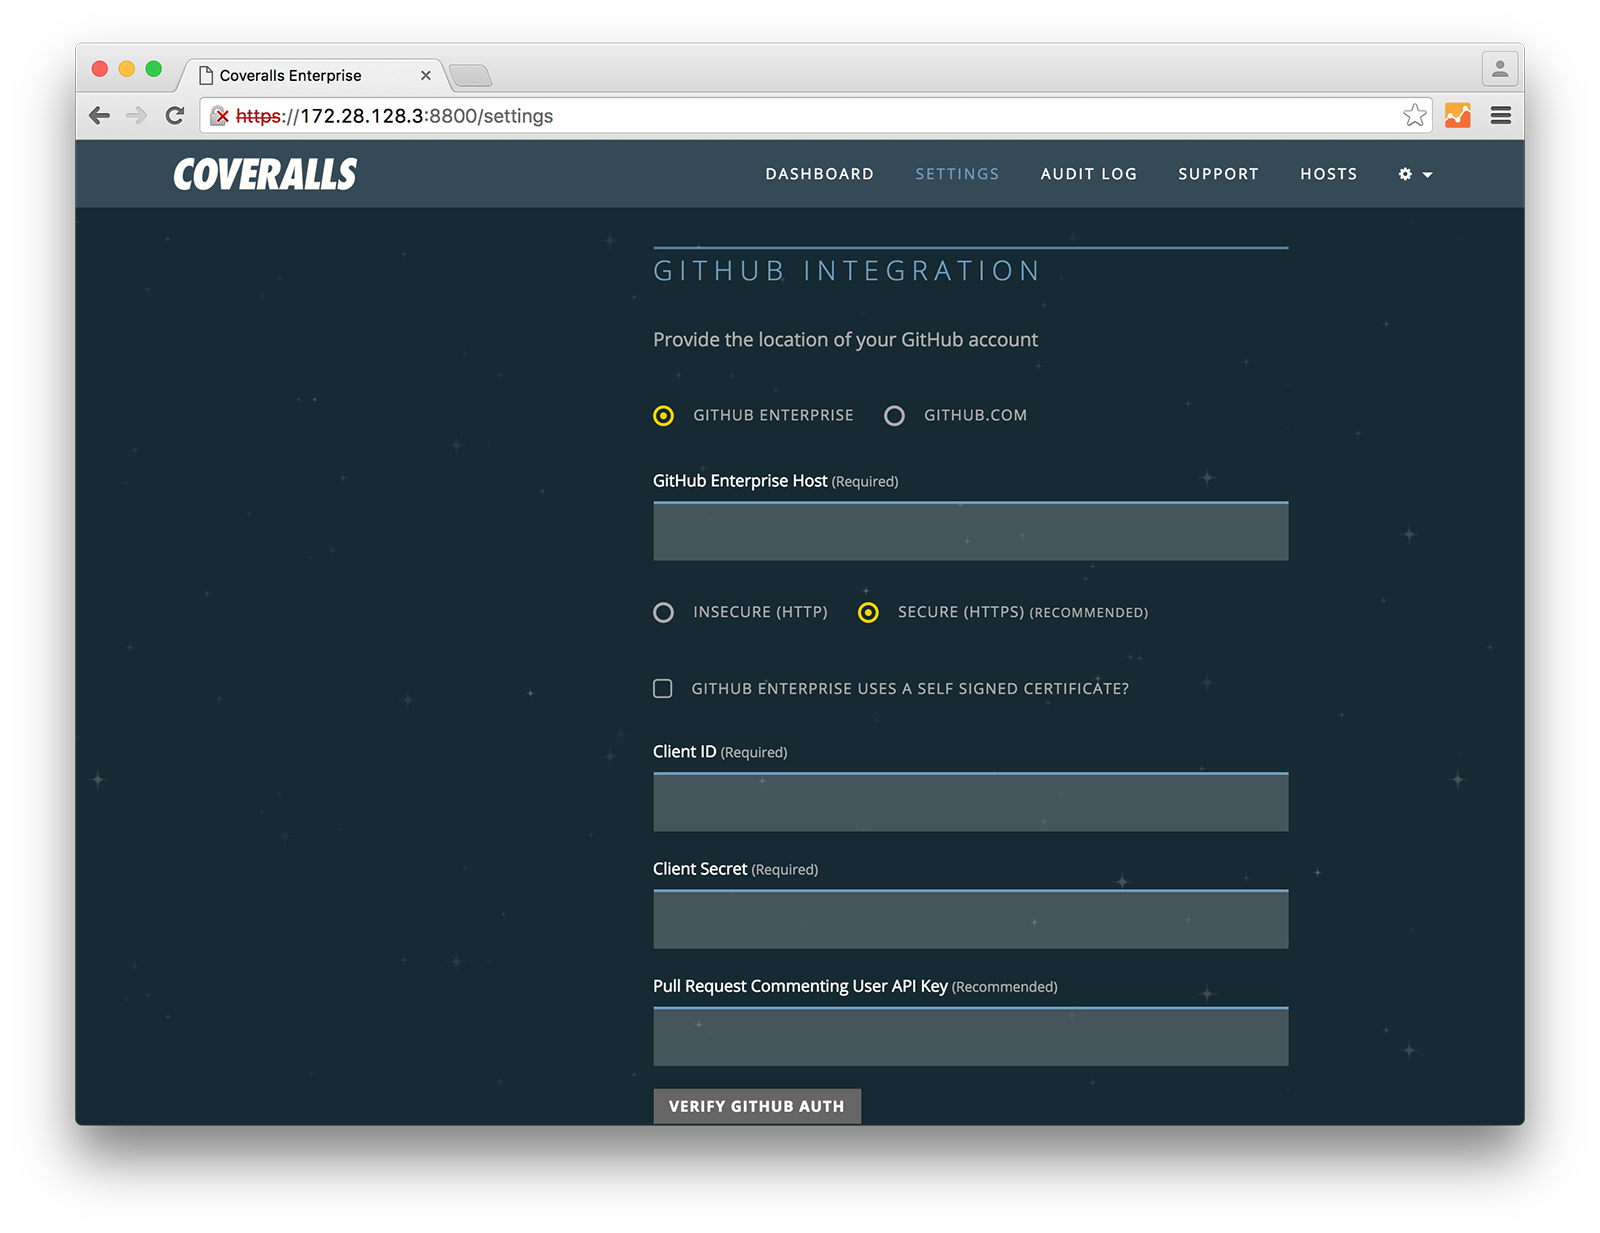
You will next see the Coveralls Enterprise settings page. Be sure to complete all the required fields. When you've finished, click "Save to continue"
GitHub Configuration
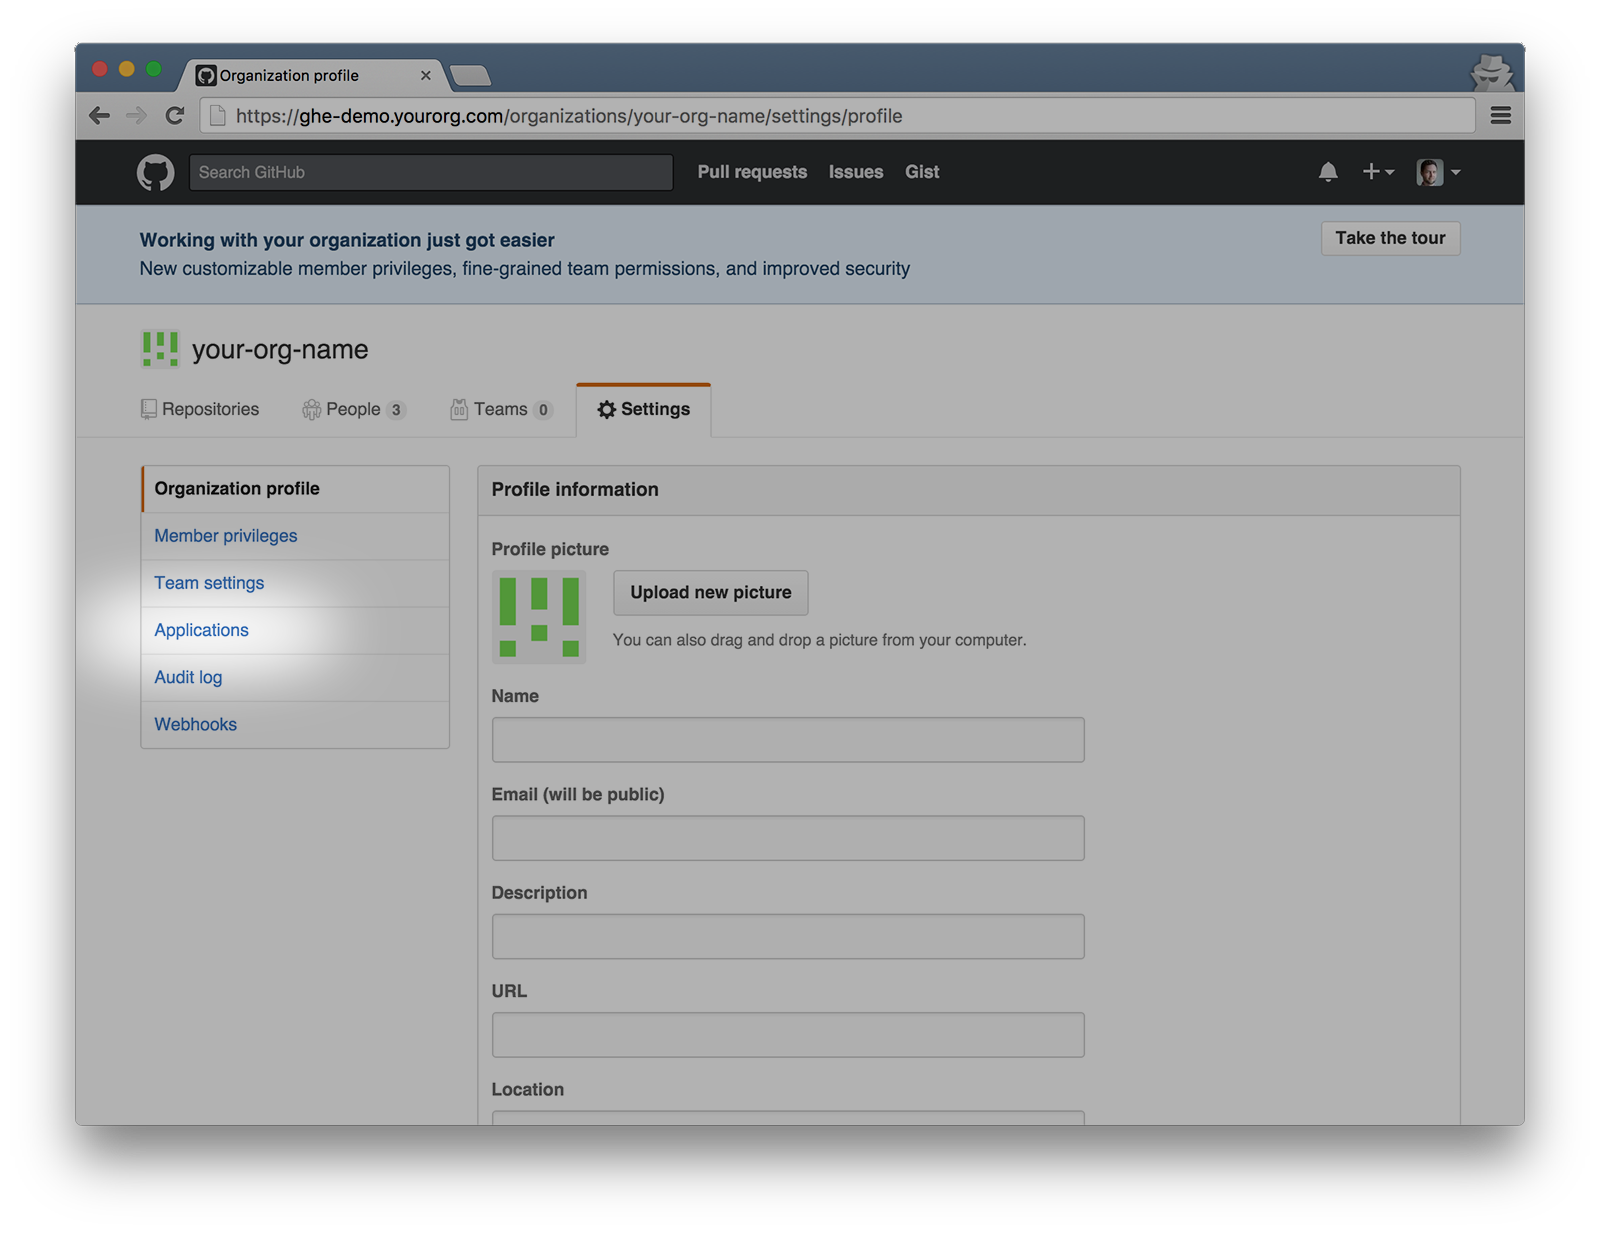
Go into the settings for your organization on your Github or Github Enterprise account, and click the "Applications" link on the sidebar.
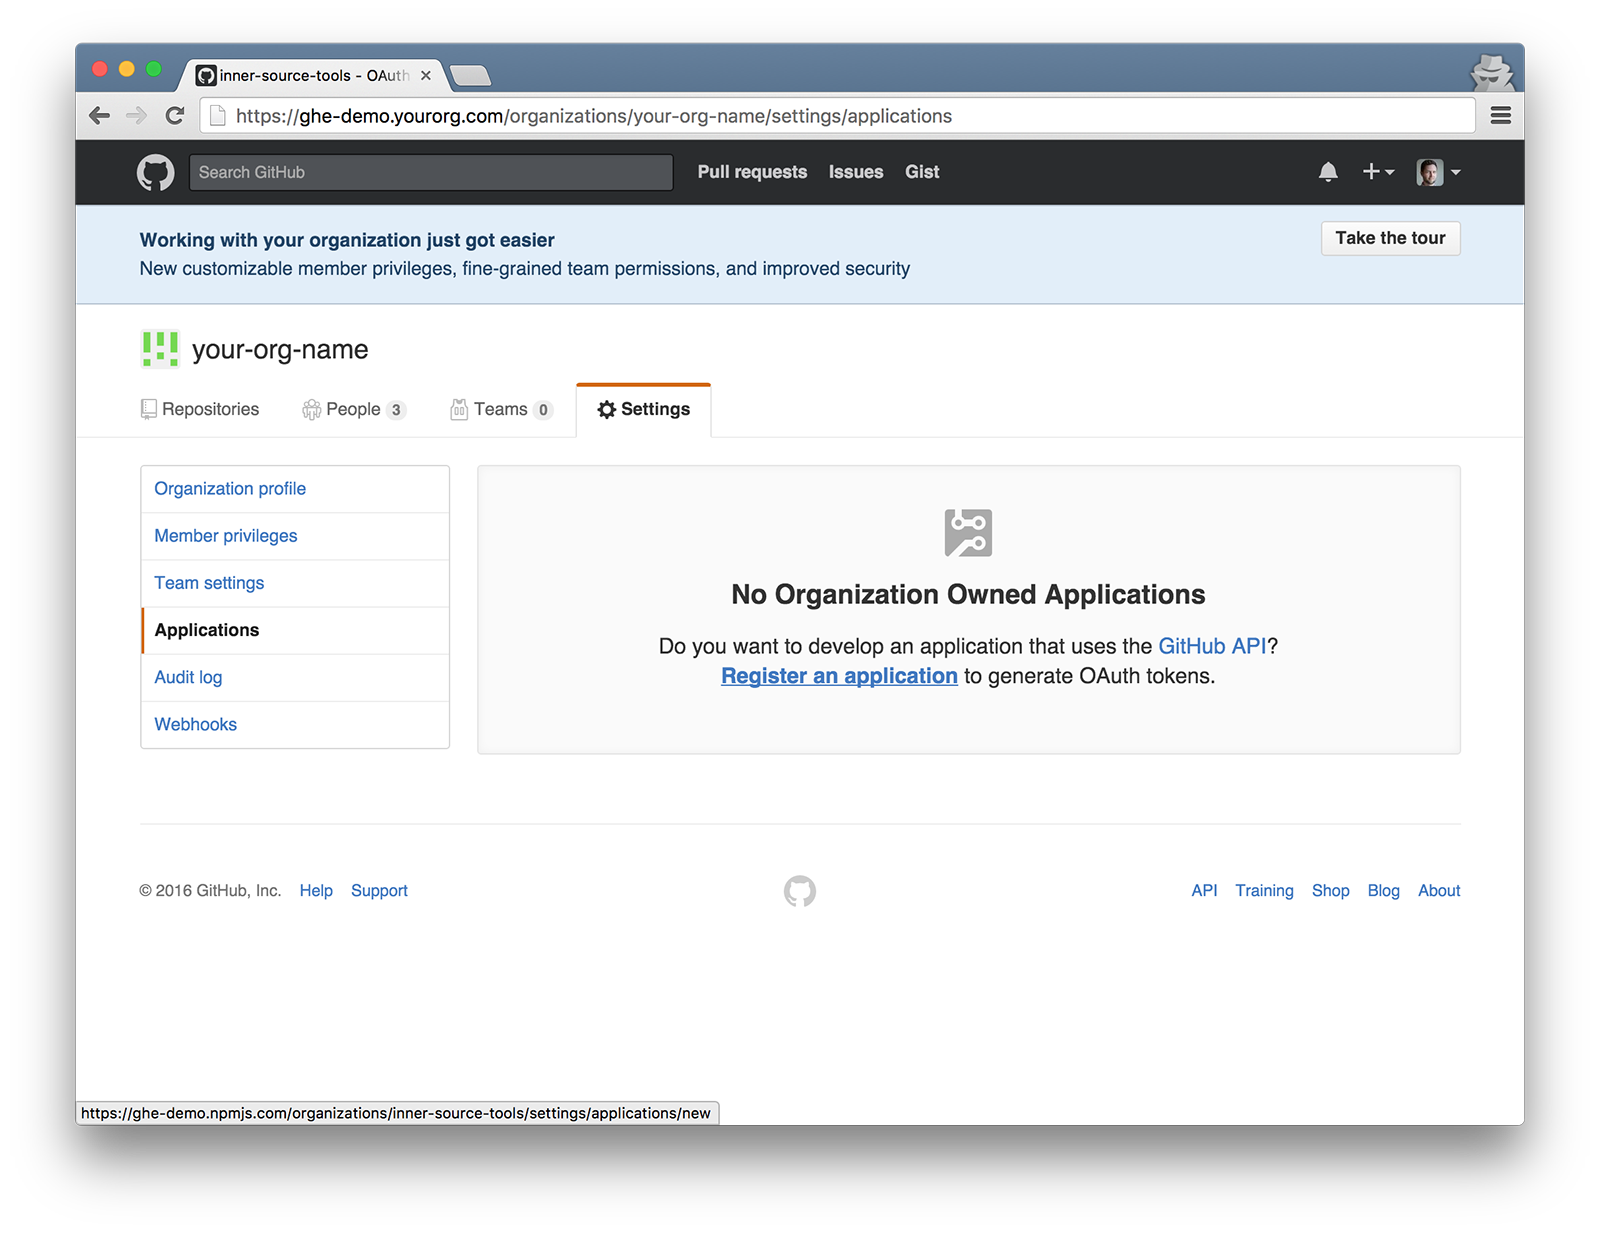
Next click the "register New Application" link. If you already have applications registered, that link will be on the top right of the list.
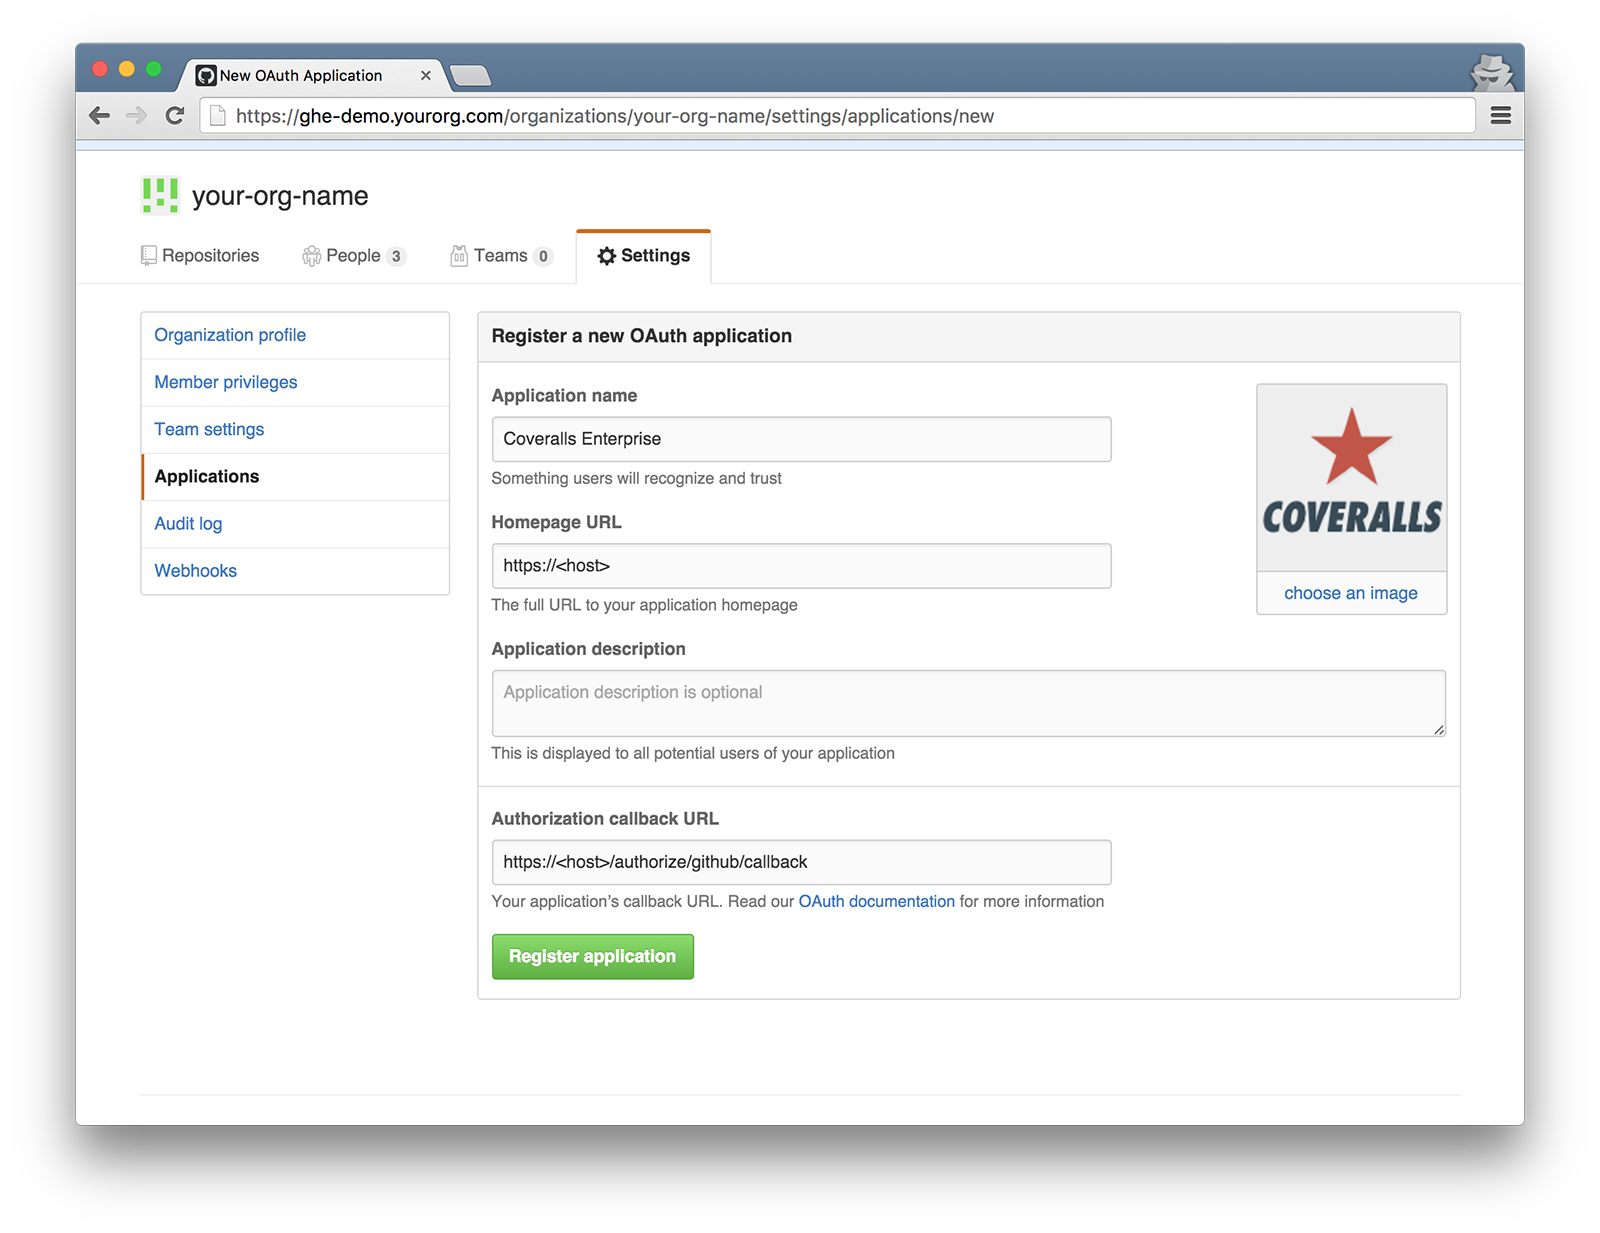
Now fill out the required fields to create the new authorized application. Make sure that the host field points to your locally running version of Coveralls Enterprise for both the "Homepage URL" field and the "Authorization Callback URL" field. Then press the "Register Application" button.
If you want to have a nifty Coveralls Enterprise logo for your GitHub Application list, download the image below!
Once the Coveralls Enterprise application is registered on GitHub, you have to copy over the Client ID and the Secret ID from the GitHub application settings page, and then add them to the appropriate fields on the Coveralls Enterprise settings page. The "GitHub Enterprise Host" field should have the URL where your GitHub Enterprise server can be found, or if you are using the cloud GitHub, then you can just use "https://github.com"
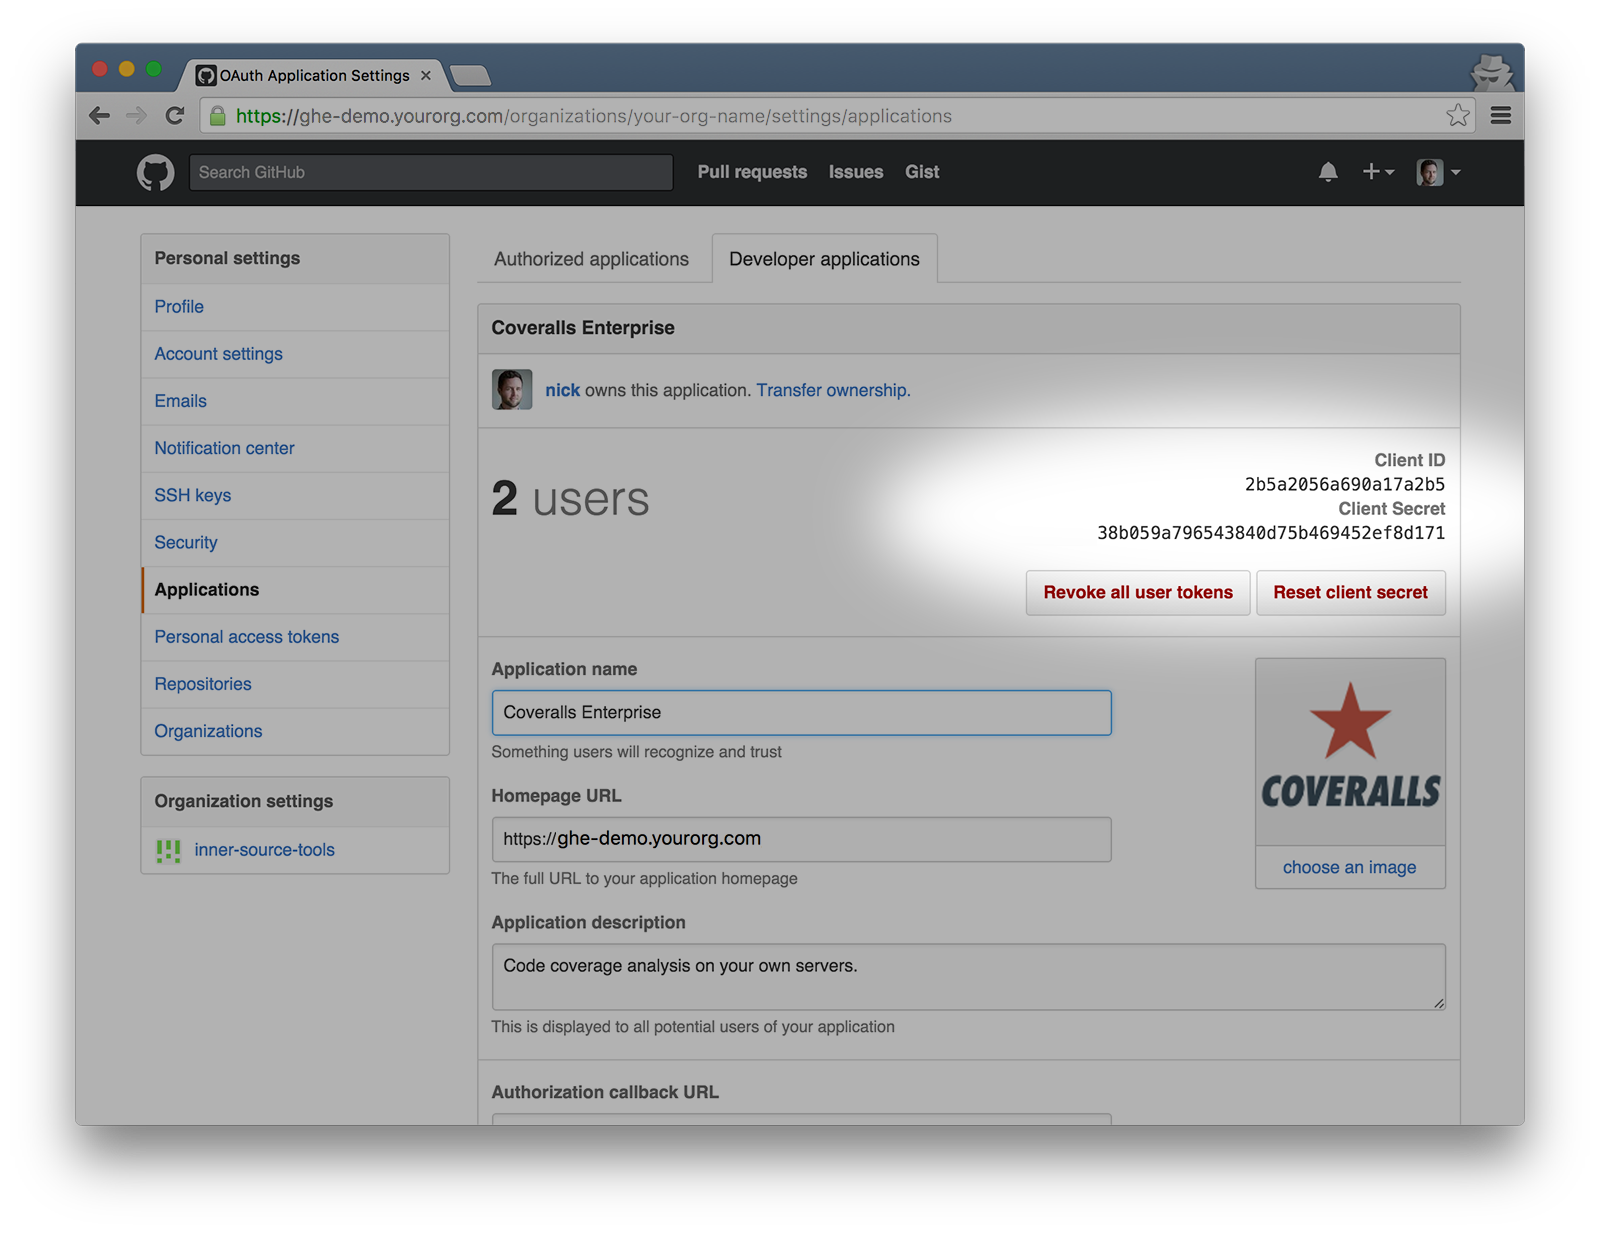
Those hashes go onto this area of the Coveralls Enterprise settings.
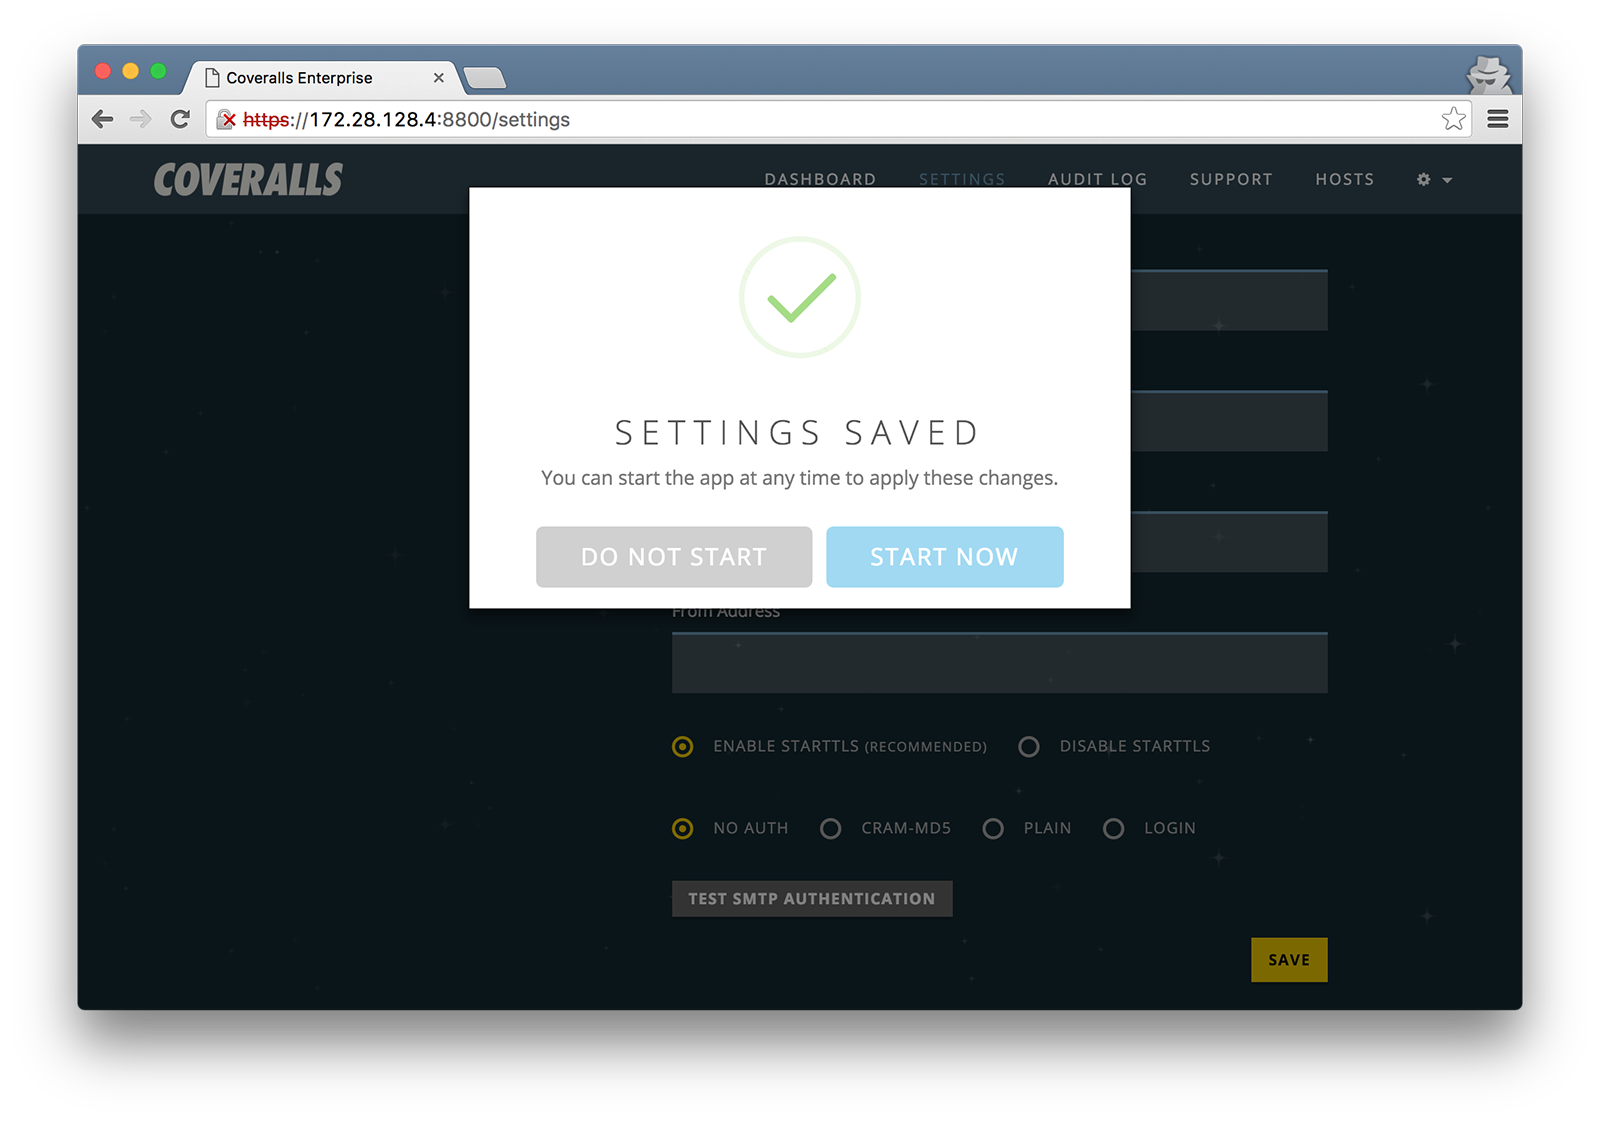
Then click the "Start Now" button to begin the application boot up process.
Bitbucket Server Setup
- Pick a unique string to be used as your shared Consumer Key, ex UUID: 9a8e3cfd-bdcd-4ffe-9bd4-3c32a89dc241
- Configure Application Link at {{BBS}}/plugins/servlet/applinks/listApplicationLinks
- Enter the root URL of your Coveralls Enterprise instance next to Create a new link button. Click Continue when BBS shows “no response..”
-
Fill in application details
- Application Name: Coveralls Enterprise
- Application Type: Generic Application
- Leave the remaining fields completely empty.
- Click *Continue
- Now the link is added. Please click the pencil (edit) icon on the Coveralls Enterprise link.
- Click on the tab Incoming Authorization
-
Fill in the details:
- Consumer Key with your generated client id.
- Consumer Name with Coveralls Enteprise
-
Public Key:
MIGfMA0GCSqGSIb3DQEBAQUAA4GNADCBiQKBgQCvep3wi1jH4WFEUbEGnXTUpQXzy61mn/ug2z430/kFq6uaEzbkRBhQD1UDyixwse0qv39mJHZDTszJZC9ugkSrtJrkJRJIJX13tL3SJFj3QBbpTdmaLoC02bqsf6KRWC47lI89suM1NvdDlYx5xpn2UmTCTkTx1qNRv9/3hmRAqwIDAQAB
- Consumer Callback URL with {{coveralls-enterprise-hostname}}/auth/bitbucket_server/callback
- Click Save
Configure Node tags
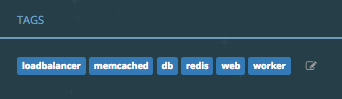
From the CLUSTER menu item in the settings you will need to make sure that all tag options are checked. When you click through to the HOSTS config you’ll see something like this:

To change the settings, click on the pencil / edit icon.
Next, make sure that all of the tag options are selected:
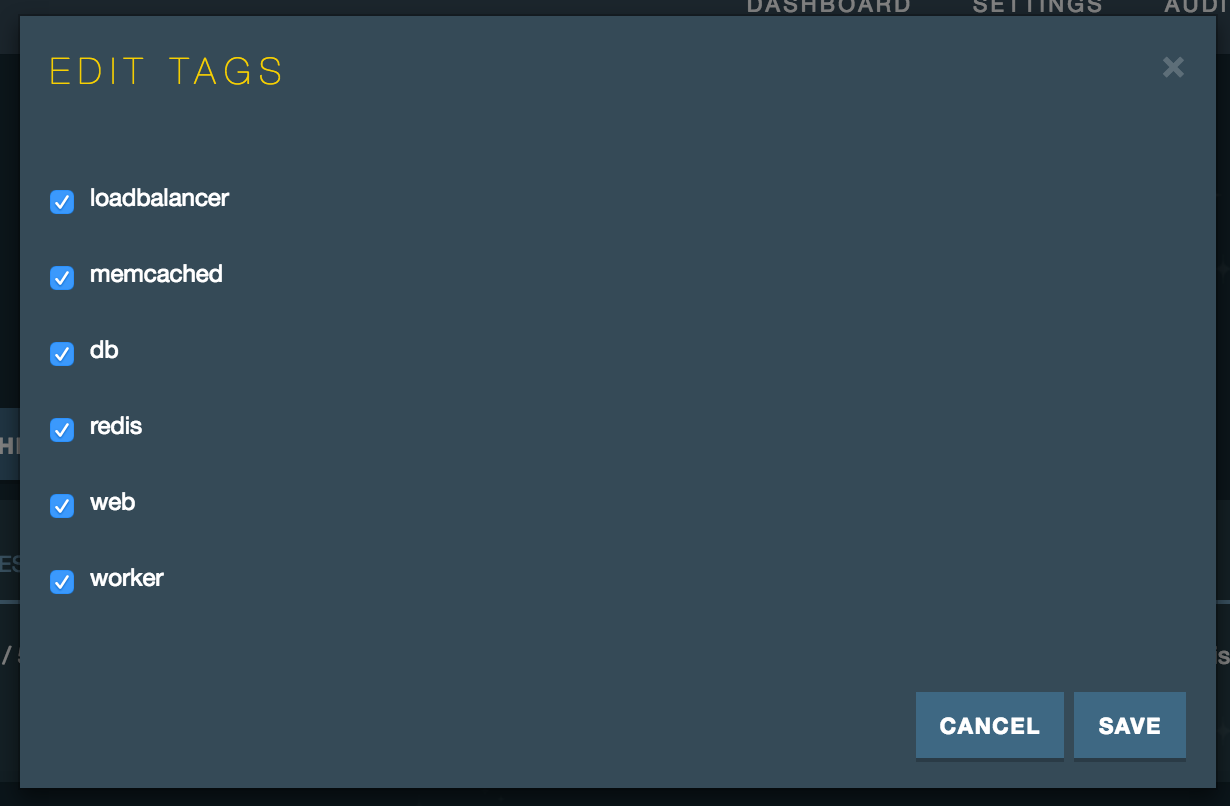
Save your changes and restart the server.
Open Coveralls Enterprise
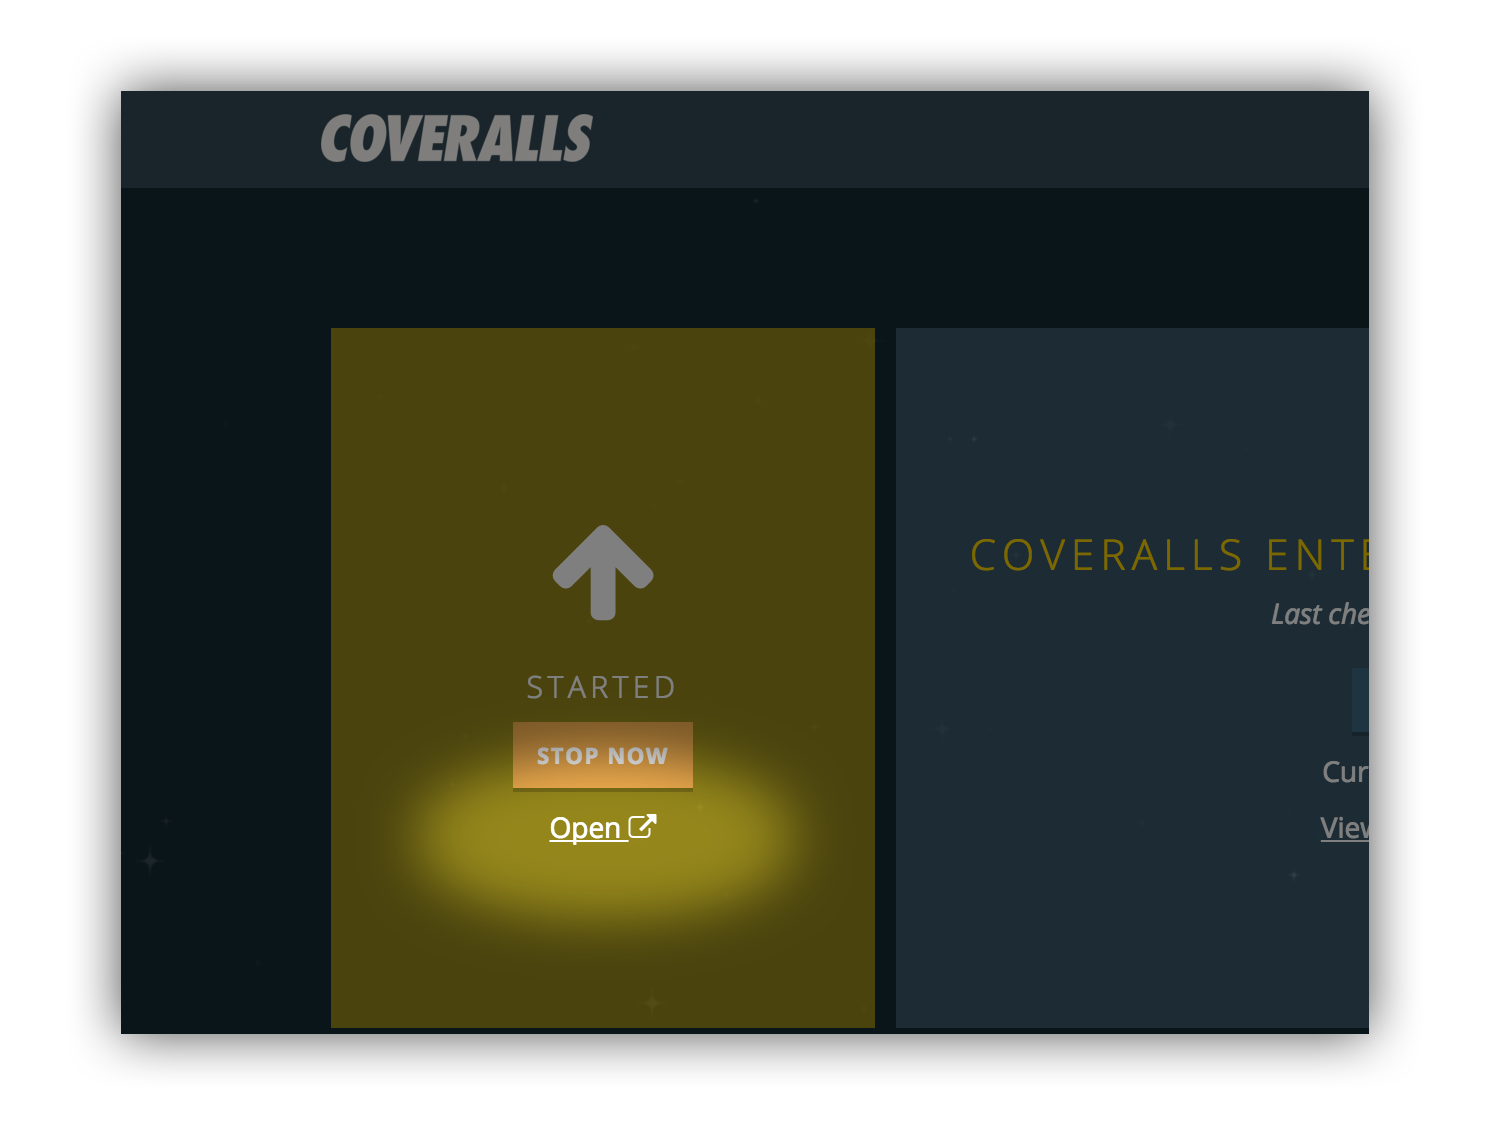
After the instance has completed booting, click the "Open" link on the Dashboard to open Coveralls Enterprise in a new tab. Please note, the first time that you load the application it will take a few minutes as the boot process finalizes.
Next Steps
Add the environment variable
COVERALLS_ENDPOINT
to your CI build environment and set it to:
https://{your-coveralls-enterprise-hostname}
If you are using Travis Enterprise, set your service_name to
travis-enterprise
(details will depend on your Coveralls integration library).
Upgrading Replicated
If you receive a message saying Replicated needs to be upgraded for a Coveralls application upgrade to proceed, you'll need to re-run the install command on your instances:
curl -sSL https://get.replicated.com/docker | sudo bash
Troubleshooting
1. If you receive the message "Error placing components..." when booting the app, you'll need to configure your host tags as described here.
2. If the dashboard hangs for more than a few minutes, you can manually restart the app by running these commands as root:
service replicated restart; service replicated-ui restart; service replicated-operator restart
3. If the dashboard isn't coming back up after a reboot, check that your instance still has free disk space. If not, try `docker system prune` to reclaim some.
Need help?
For more installation help, email us at enterprise@coveralls.io and we'll set up a private Slack channel.
That's it, happy covering!
FAQ
Q: Can the installation be automated?
A: Yes, here’s the KB article on it: https://help.replicated.com/docs/native/customer-installations/automating/
Q: Is it possible to supply the parameters such as what interface to use for the IP address
A: Yes, we allow several parameters including private-address and public-address (the parameters are towards the bottom of the script), docs here: https://get.replicated.com/docker
Q: What is the service address and how is it different than the private-address?
A: The service address is intended to indicate the interface on which public traffic is hosted. In an AWS VPC install there may not be able an address that directly takes public traffic in which case this would be the same as the private address and a ELB would route traffic back to the that interface.